Applies to: cameras supported by the Foscam App
Be sure the Foscam app is installed on the smartphone and that a Foscam cloud account is already established.
Step 1: Add the information for the camera to the Foscam App
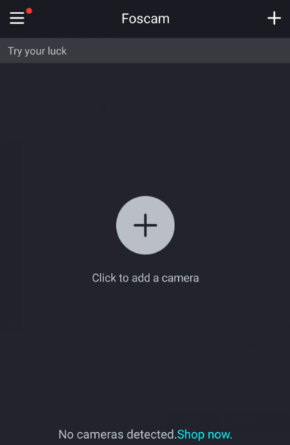
• Login to the Foscam app
• Click the + button
• Scan the QR code from the bottom or back of the camera using the camera of the smartphone


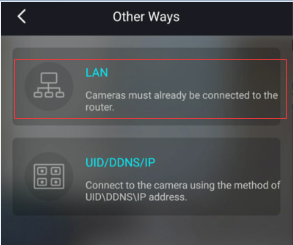
Method 2: Add a camera from the LAN Camera List
• If the camera does not have a QR code click the No QR Code option
• This will access the Camera LAN List
• Tap the appropriate camera to add to the app
Note: To use this option the camera must already be connected to the same LAN the smartphone is connected to.

Click here for detailed steps on adding camera from the LAN.
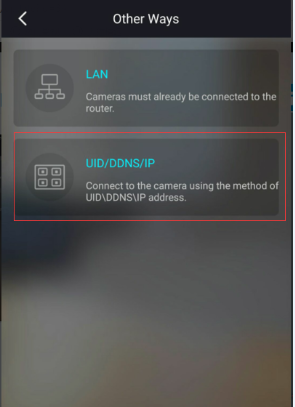
Method 3: Add a camera manually using DDNS/UID/IP• Using this method one of the following conditions should apply
-The camera does not have a QR Code
-The end user is away from the camera being added
• Click No QR code-UID/DDNS/IP
• Manually enter the DDNS URL, or IP and port, or UID numbers for the camera


Step 2: View the live video feed from the camera.
• After the camera is successfully added to the app the live video feed can be viewed.
• Check for the camera under the My Cameras Menu
• Click on the Play button to view the video feed
Note: If this is the first time the camera is being access you may be prompted to enter the username and password for the camera.

