Overview: This article discusses the process of adding a Foscam camera to the app while it is connected to a LAN via an Ethernet cable or already connected to a wireless network.
Note: The smartphone/device must already be connected to the same LAN as the camera.
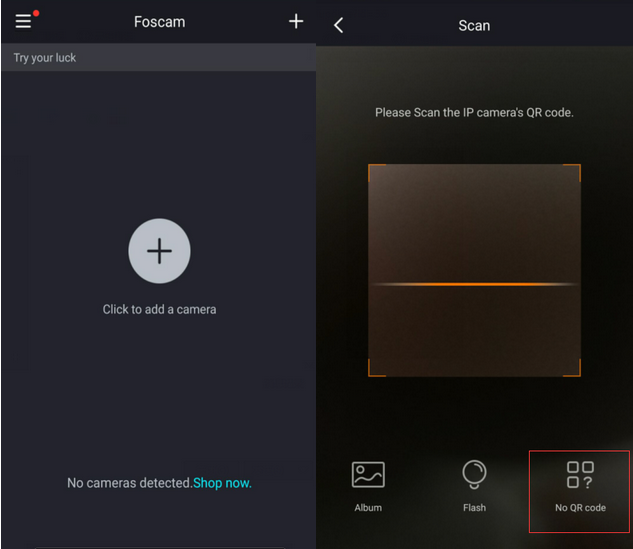
Step 1: Launch the Foscam app and login to the Foscam Cloud account.
•Click the + button to add a new camera to scan the QR code located on the bottom or back of the camera.
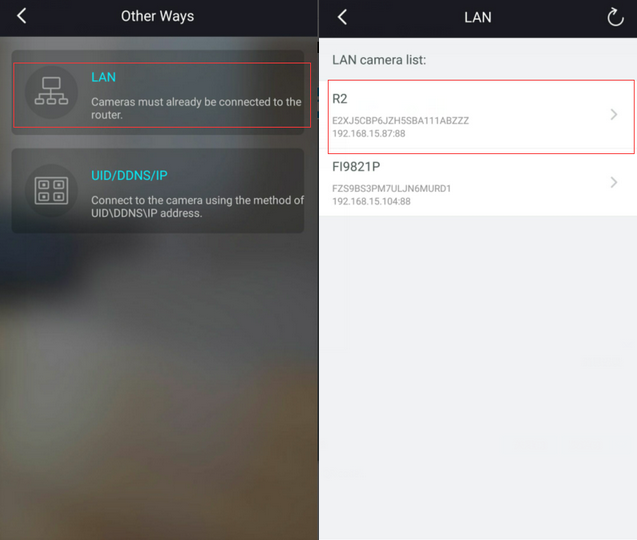
• The app will now search the LAN for cameras that are connected to the same router as the smartphone/device.
• Once the camera appears on the LAN camera list select the appropriate camera.
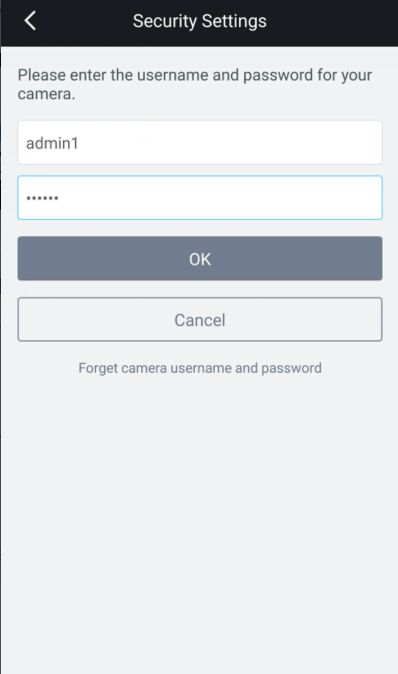
• Under Security Settings input the username and password of the camera being added.
• Click the OK button and wait up to two minutes for the camera to be added to the app.
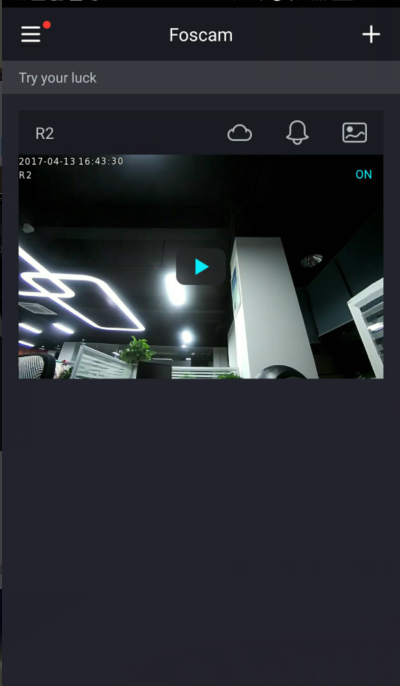
• Once the camera has been successfully added click on the Play button to view live video feed.
• If the camera is new or has been factory reset you may be prompted to enter a new username and password for the camera.
Note: The maximum username is 20 characters in length including letters, numbers and symbols _-@$*
The length of the password should be 6-12 letters, numbers and combinations of symbols. Symbols supported are ~ ! @ # % * ( ) _ = { } “ | <> ? ` - ; ’ \ , . /