Some Foscam cameras to not have a built in DDNS. If a Foscam DDNSis needed it can be obtained from the camera’s WebUI.
Follow the steps below to establish this.
Step 1: Using a Windows or Mac OS based computer login to theFoscam camera using the appropriate web browser.
- Navigate to the Network → DDNS menu.

Step 2: Click the button “Get My DDSN Now”
Step 3: A Window will open to obtain a free DDNS address. Loginwith your Foscam cloud account credentials and click on the button “Get DDNS”.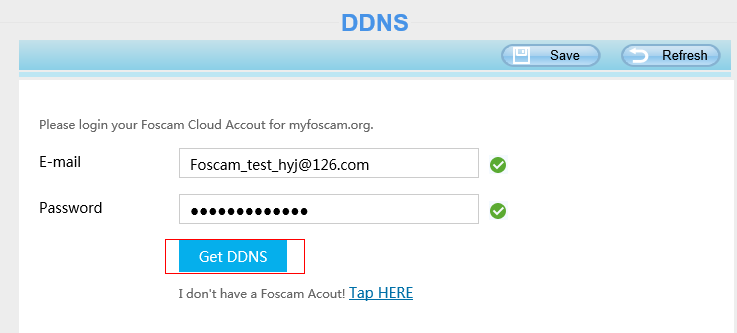
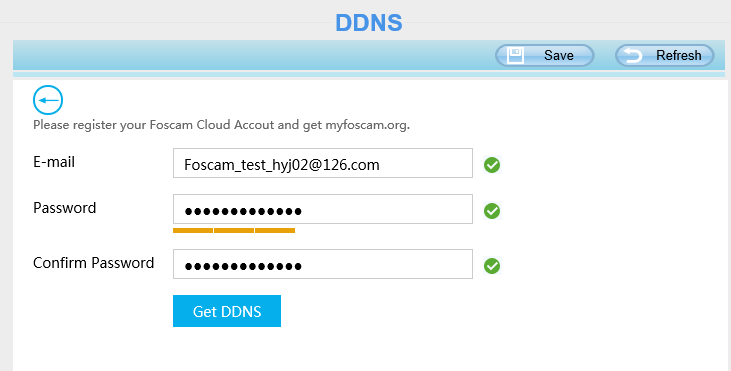
If you have not already done so you will need to setup andestablish a free Foscam Cloud Account. To setup the account select the “TapHere” near the statement “I don’t have a Foscam Account Tap HERE”
- Input an email address and setup a password to setup the freeFoscam Cloud Account.
- Once this process is completed click “Get DDNS”
Step 4: After completing the above steps you will have acquiredthe DDNS. Click the button “Finish”
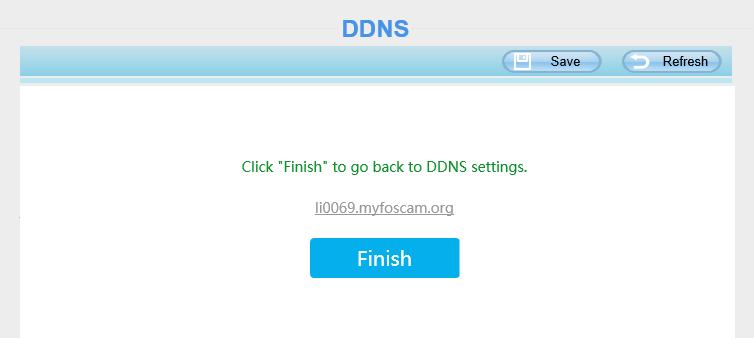
Step 5: After clicking Finish this is going to return you to theDDNS Menu; the DDNS will auto populate and will be displayed under the Manufacturer’s DDNS. In this example,the DDSN is li0069.myfoscam.org
Note:
After successful setup of the myfoscam.org DDNS you will receive aconfirmation email indicating the Foscam account was registered successfully.This account can also be used via the Foscam App and the Foscam website toaccess the cameras.

www.foscam.com
www.myfoscam.com
www.foscammall.com